


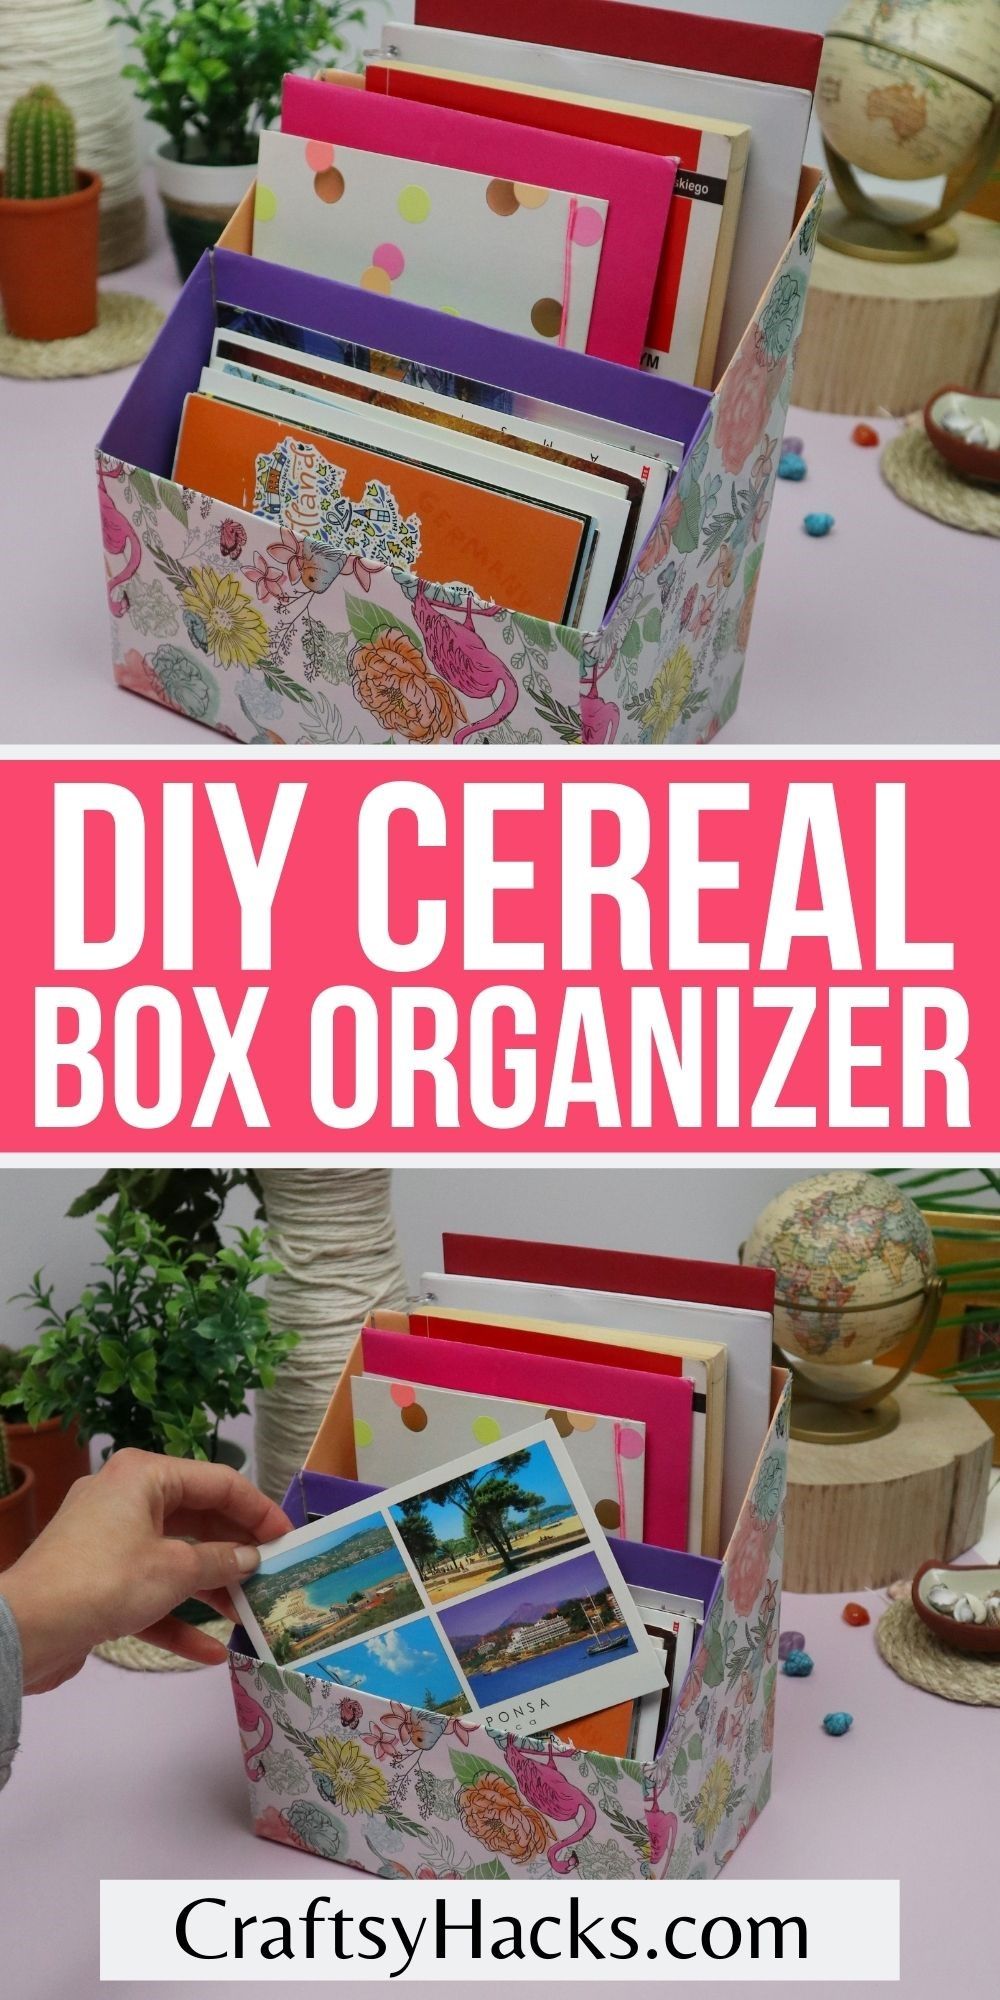
Upcycling cereal boxes at home can be a lot of fun. Especially when you make an organizer that’s actually useful. This is a full tutorial on how to make a DIY desk organizer out of cereal boxes.

Reduce, reuse, recycle. These are the hallmarks of a sustainable craft, and this cereal box organizer absolutely fits the bill! Set up in front of Netflix and crank this project out in an afternoon.
The one thing to really pay attention to here is color! I chose a gorgeous, bright wrapping paper for the exterior and some vibrant, contrasting colors for the interior.
So, not only will it be a useful accessory, it will also be lovely to look at.

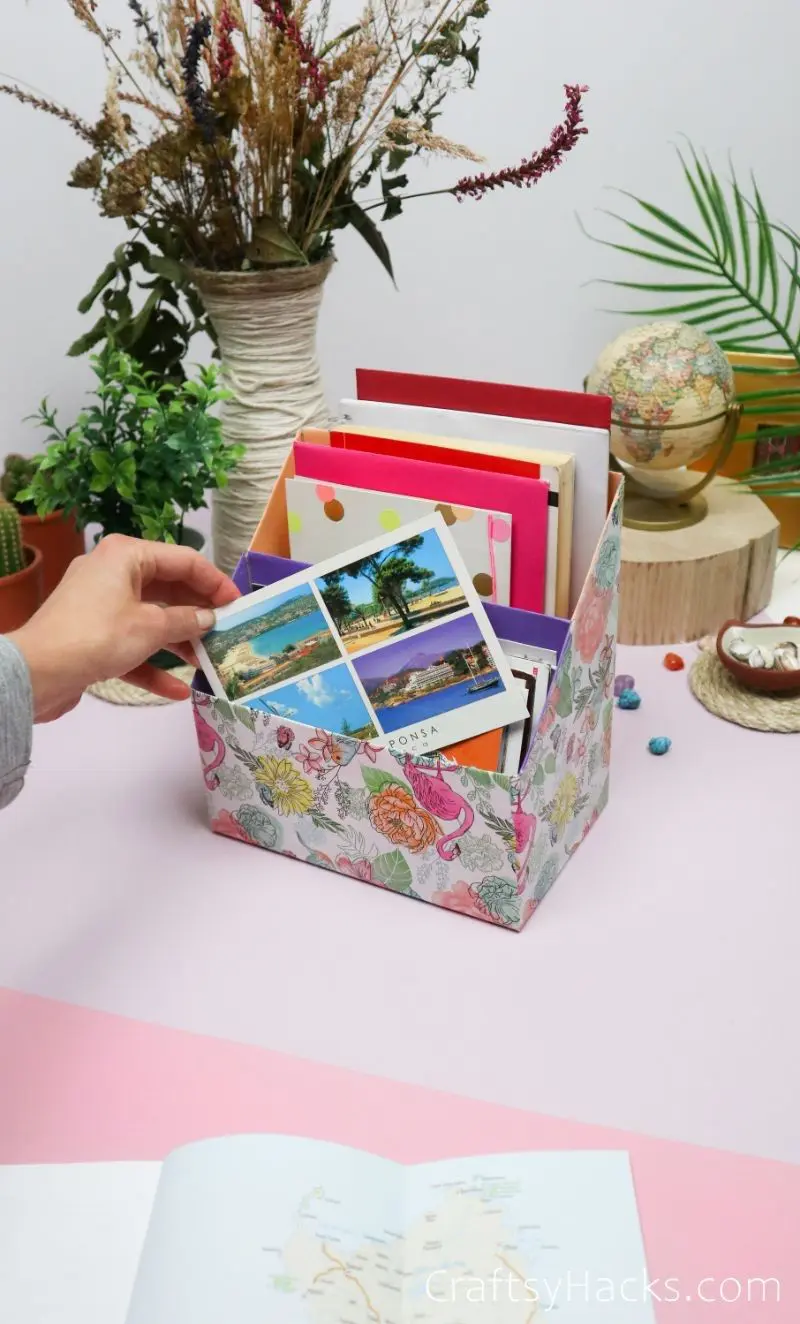
Whether it’s on a desk or adorning your nightstand, this organizer will effortlessly clean up your space. Even better, it won’t break the bank. So, how do you create this awesome organizer?

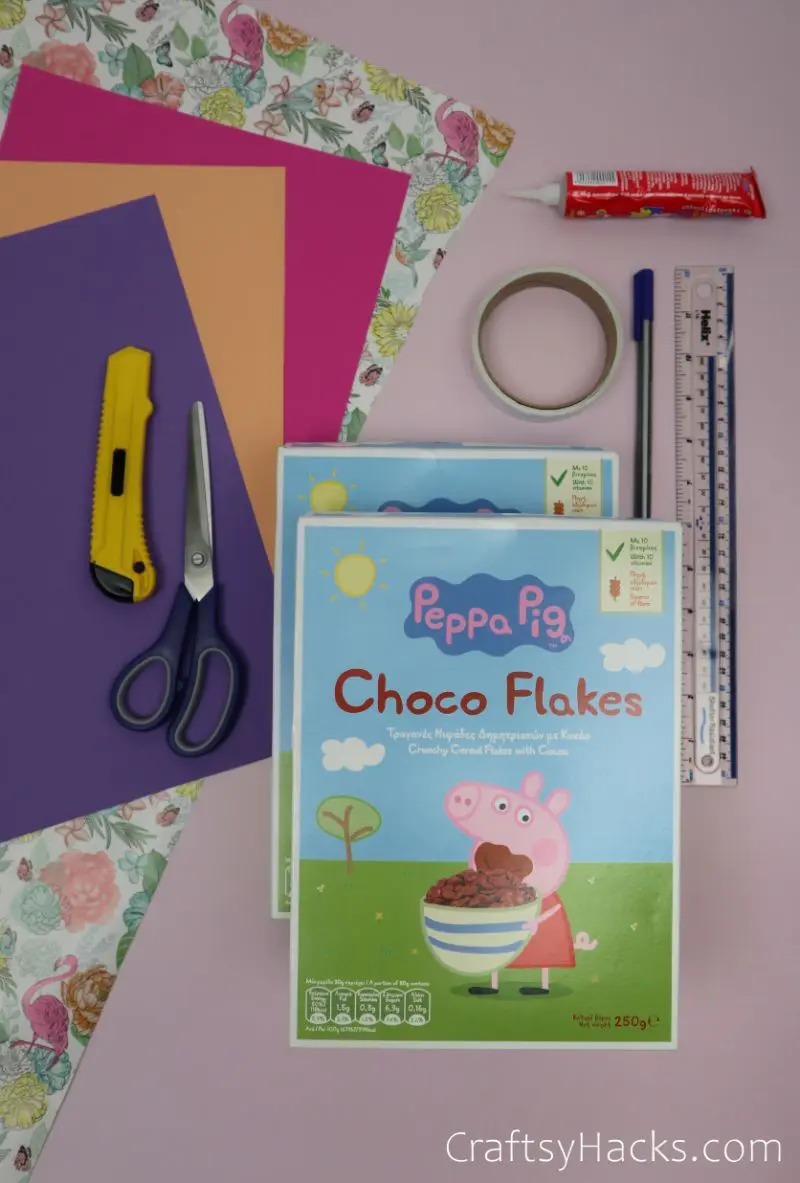
What You’ll Need to Make the Organizer
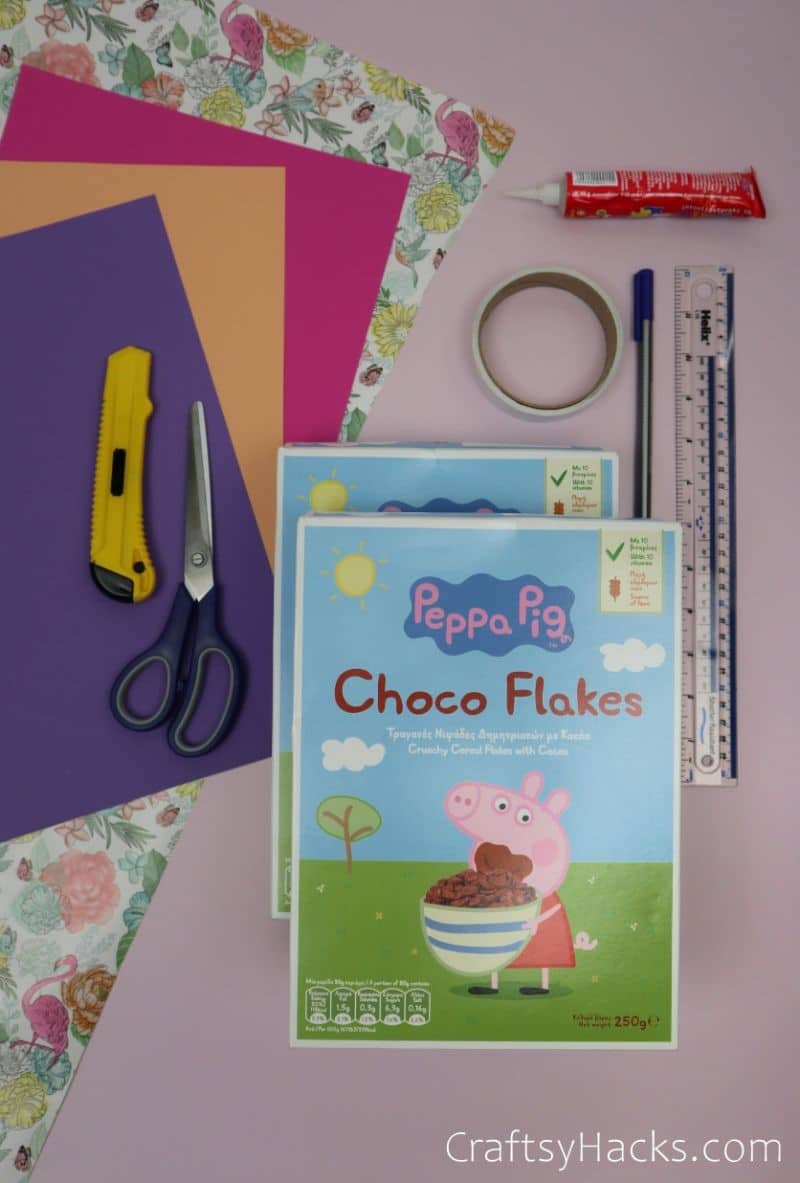
- 2x cereal boxes
- Colorful paper
- Wrapping paper
- Double-sided tape
- Glue
- Scissors
- Retractable knife
- Ruler
- Pen
How to Make This DIY Organizer
Here is a step-by-step tutorial on how to exactly turn your cereal boxes into a nice desk organizer and increase storage space in your office.
Step 1
As always, let’s start by getting our supplies together! You can use glue or double-sided tape as your adhesive.
I personally prefer double-sided tape, simply because it takes no time to dry.
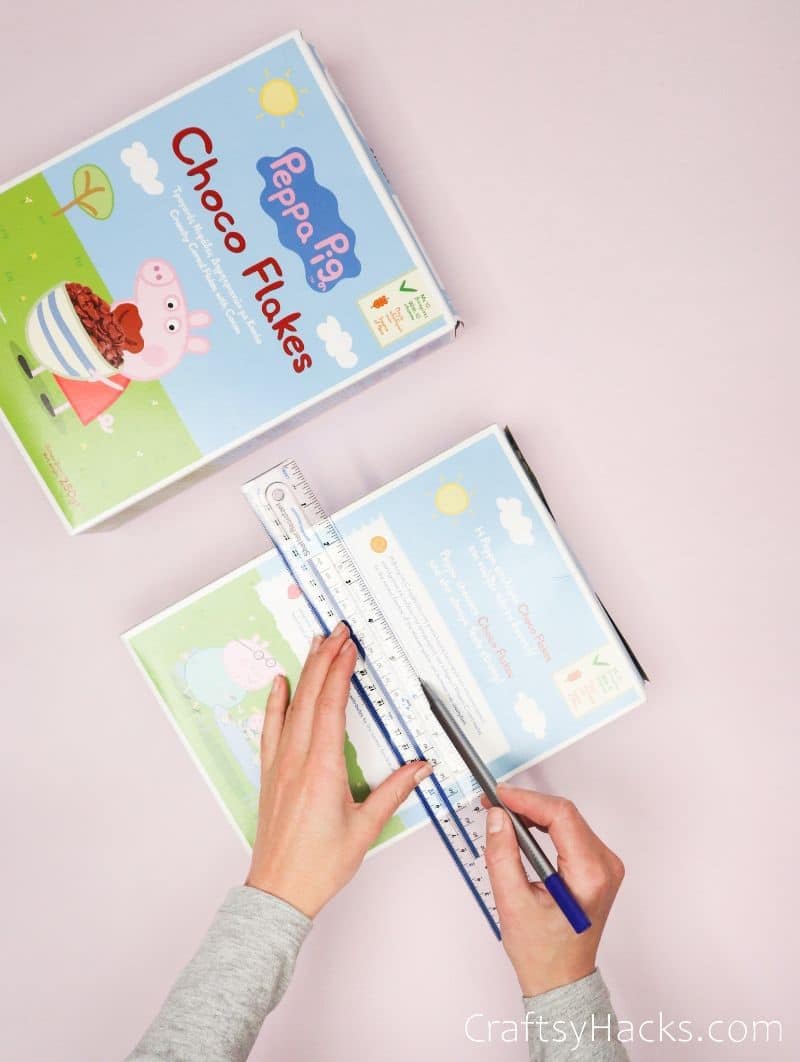
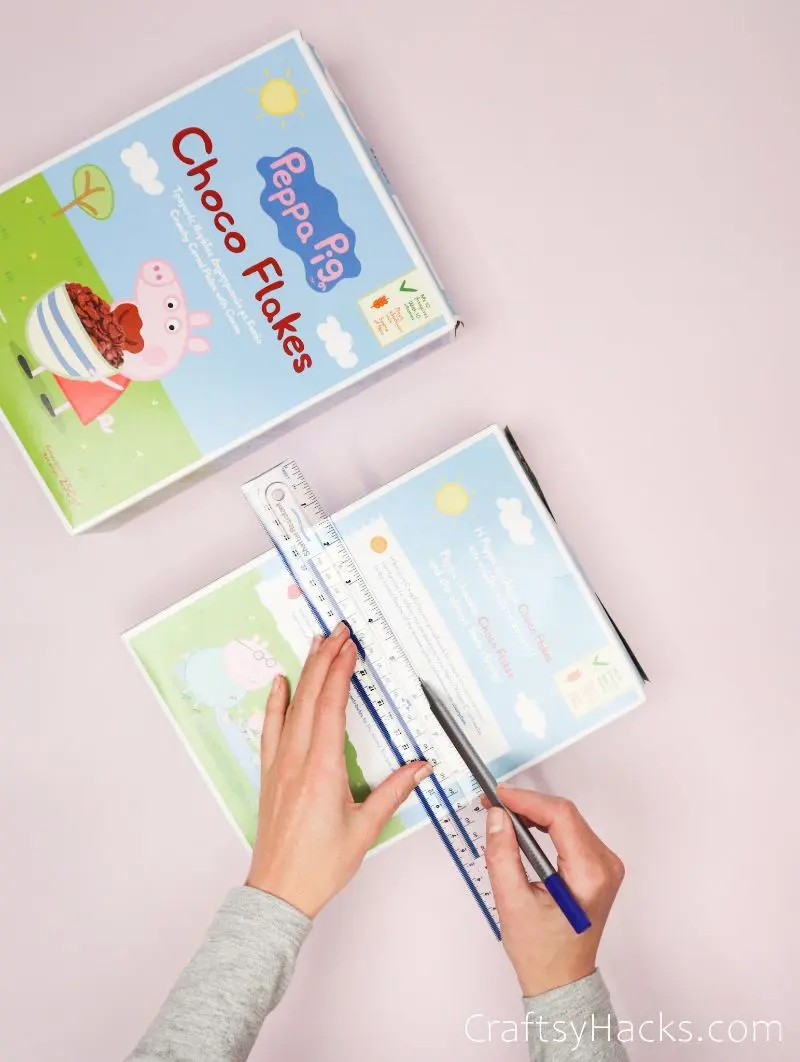
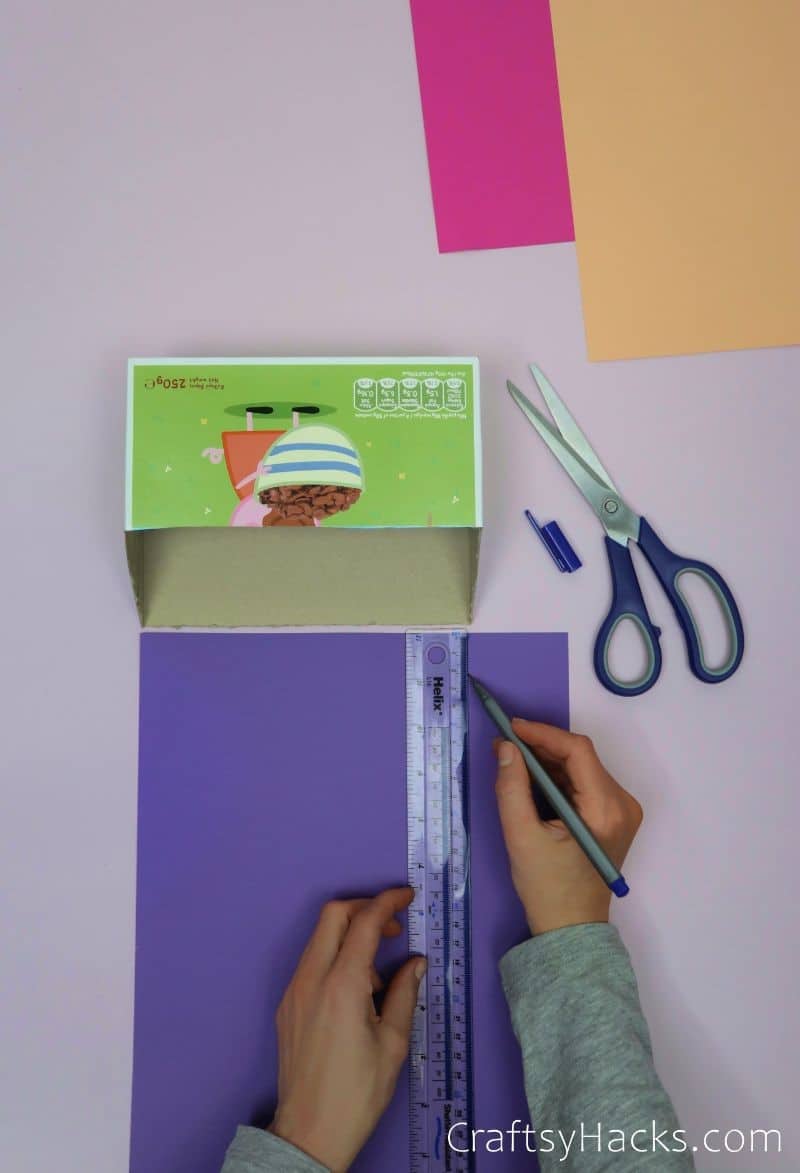
Step 2
Begin by measuring your cut lines on each cereal box. The measurements are up to you!
Just make sure that the height of the small box’s back is equal to the larger box’s front (as in the next picture).

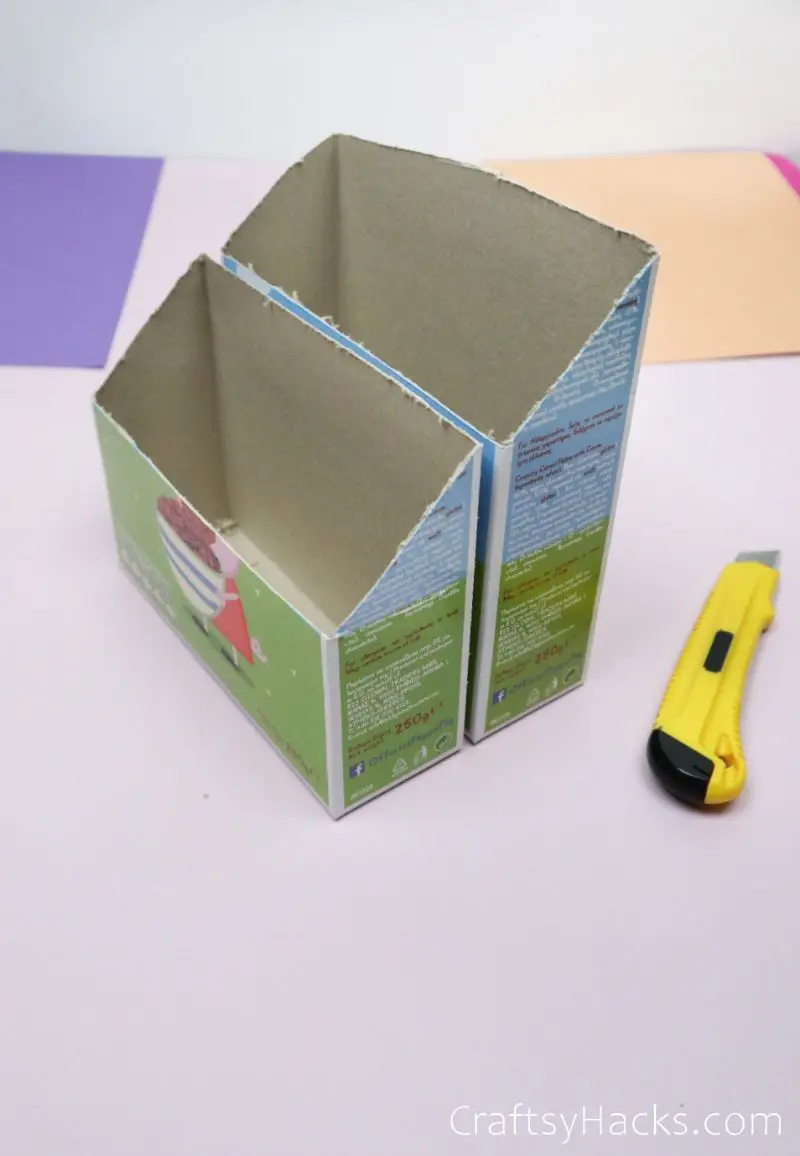
Draw a higher line on the back and a shorter line on the front, then connect them with a diagonal line on the box’s side. Finally, use your craft knife or a pair of scissors to cut along the lines.

Step 3
Next up, it’s time to decorate the boxes. You can almost treat this like wallpapering something! Simply measure out each interior panel on your colored cardstock, then cut it out and attach it.
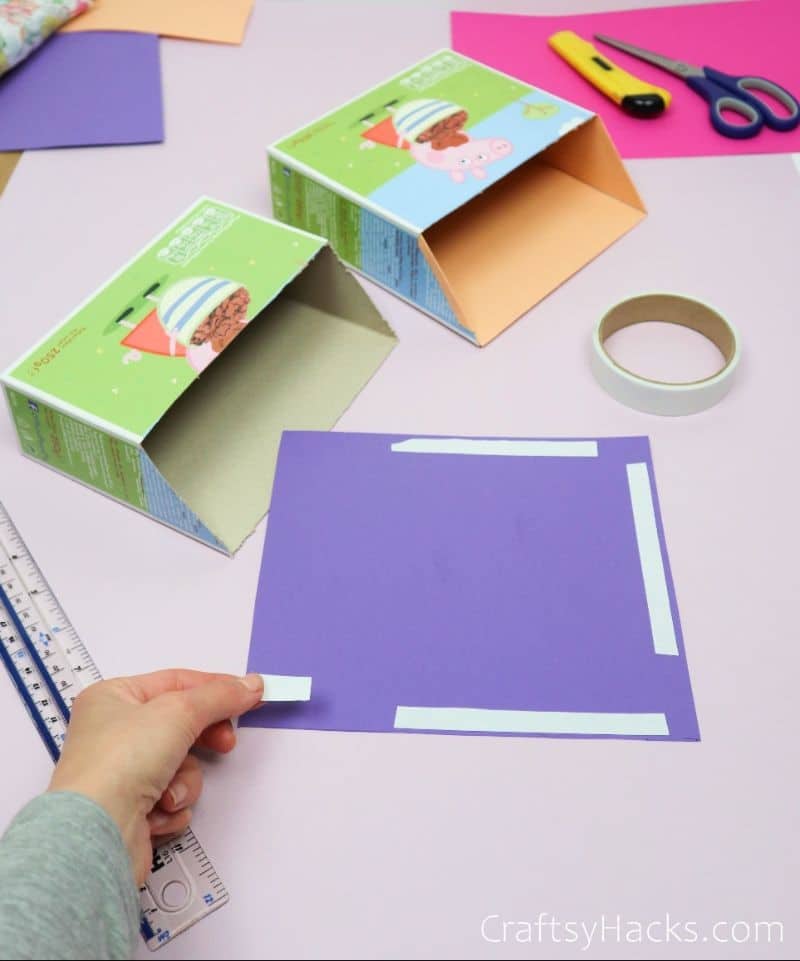

I used double-sided tape to line my box, but you can use glue if you prefer. Keep in mind that you shouldn’t use too much because it will soak the paper, and that’s tough to work with!

Step 4
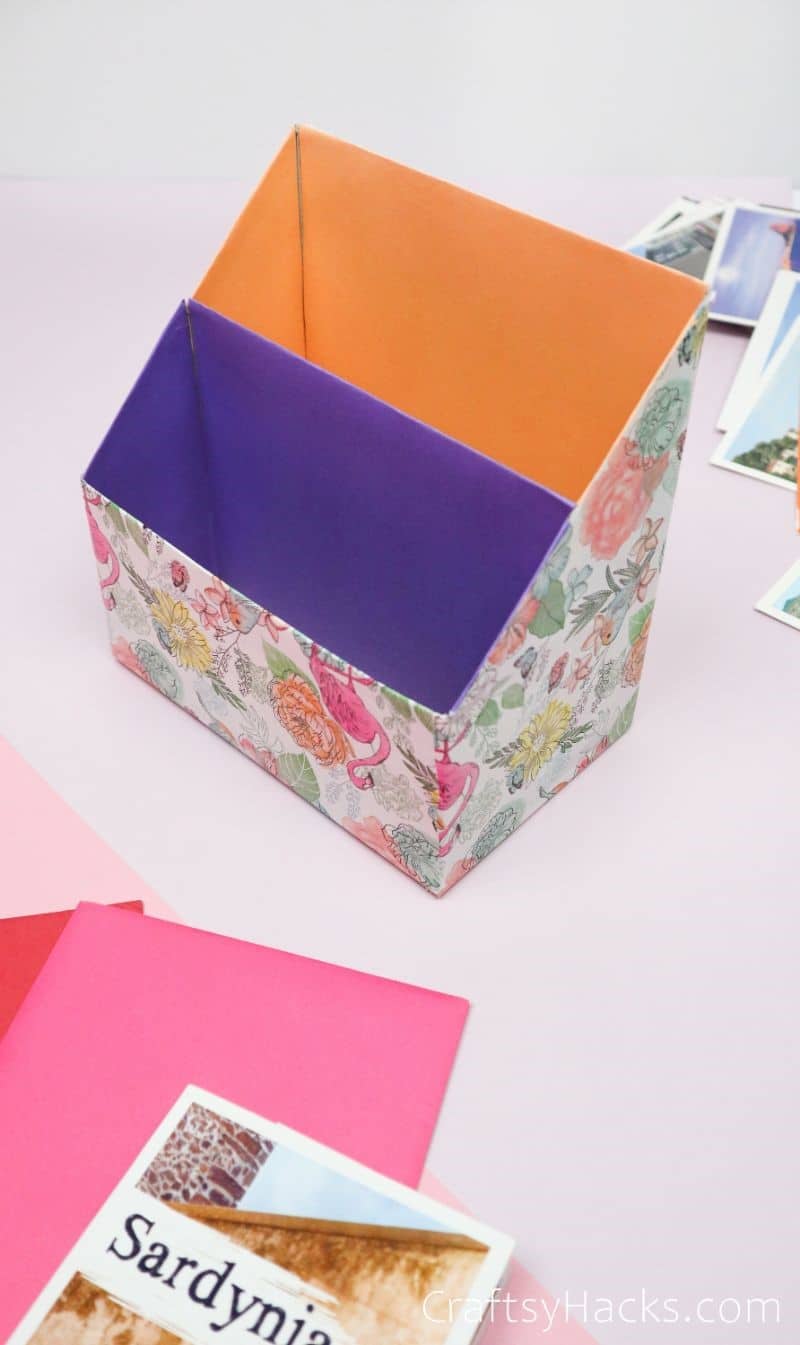
Use a contrasting color to line your second box in the exact same way. I used purple and orange (I just love how they play off each other).
Pro tip: Pick colors directly opposite each other on the color wheel to add some serious interest to your organizer.
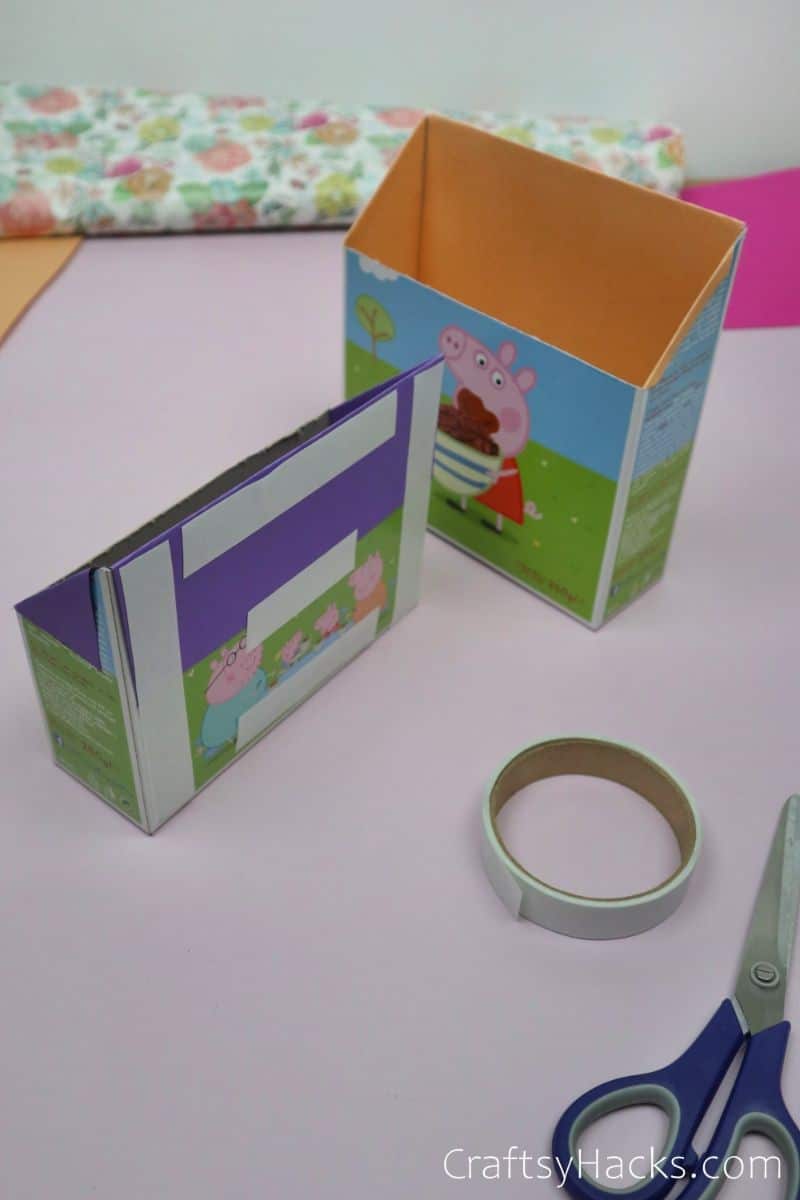

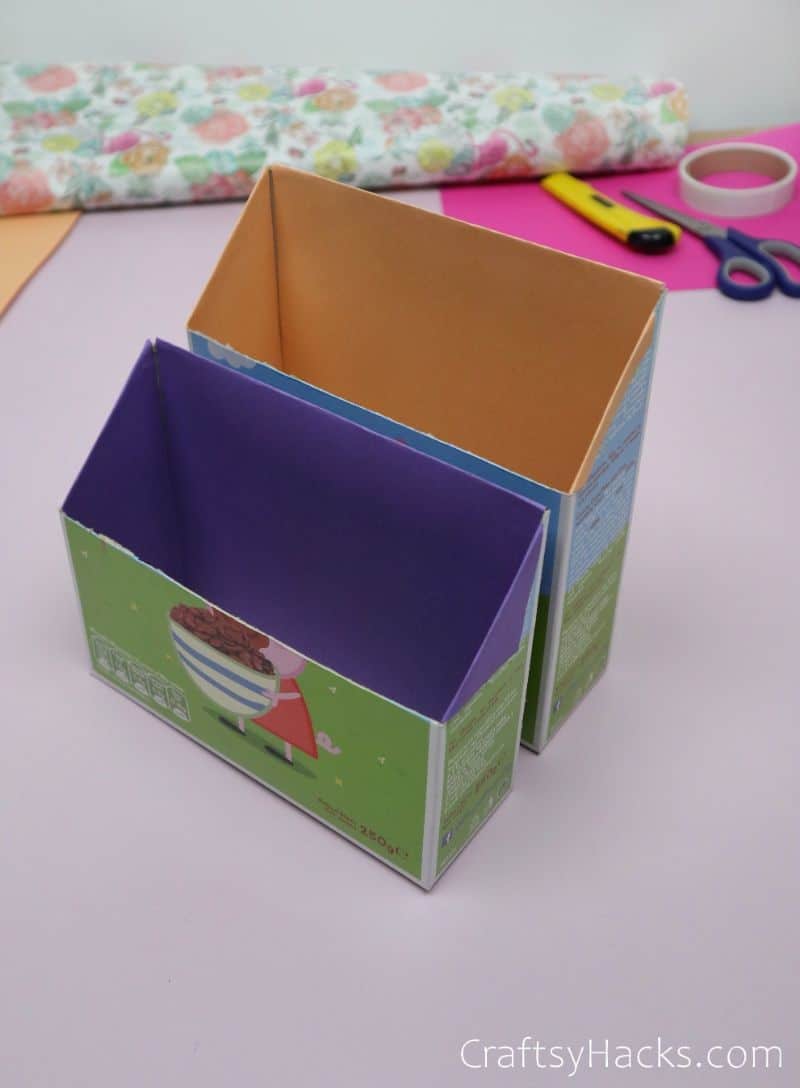
Step 5
Now, we have to create the actual organizer’s shape. This is super easy!
Just cover the back of your smaller box with tape or glue, then attach it to the front of the bigger box.

Step 6
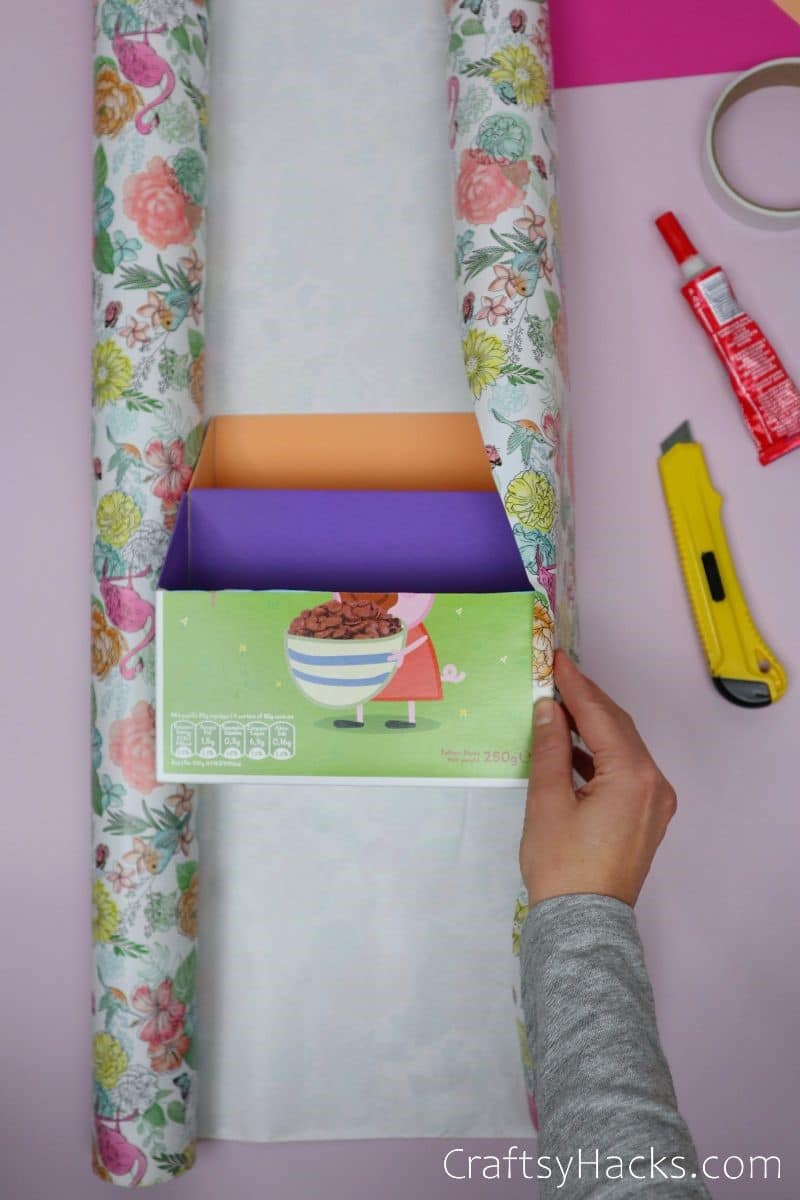
Now that you have the organizer’s shape, it’s time to wrap it up. If you’re a talented gift-wrapper, this part will be a breeze for you.
Lay it back down on the wrapping paper to start, then roll to cover.


Once you’ve covered each of the large panels, do an envelope fold on the organizer’s bottom to secure the wrapping paper.

Step 7
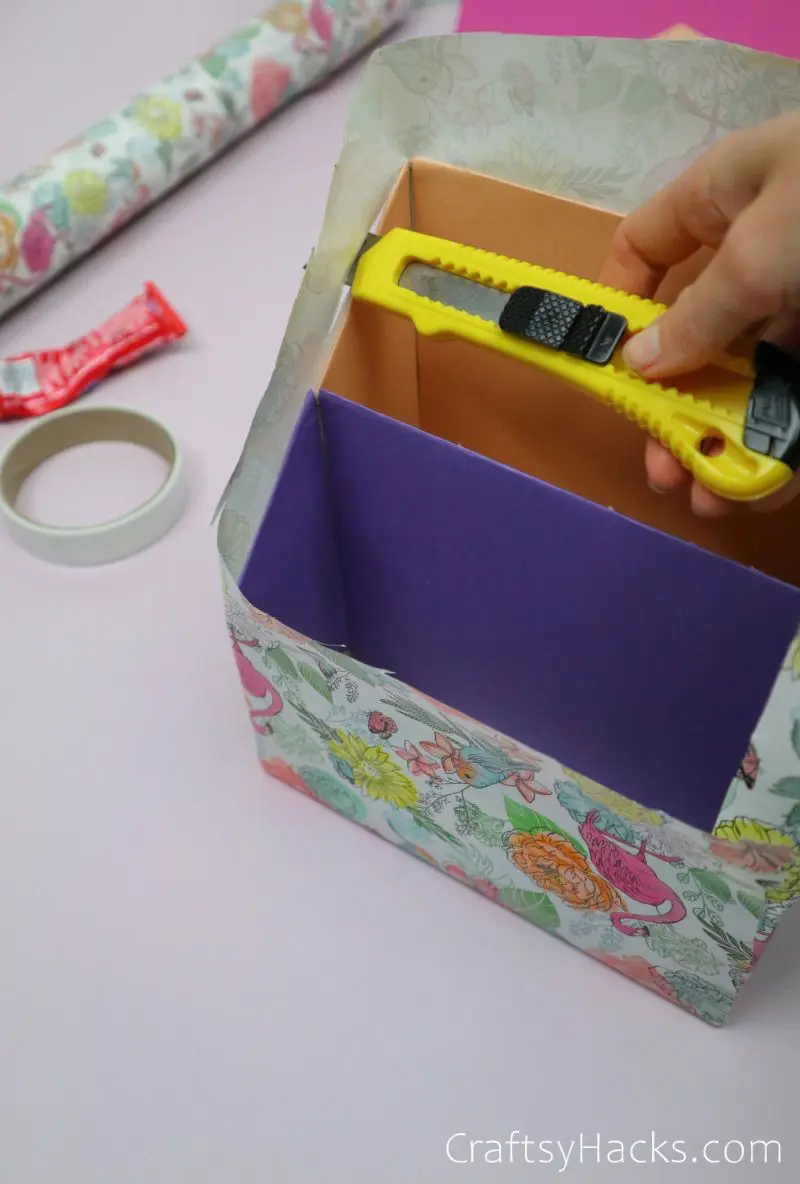
You’ll have some extra paper sticking up from the top, so you’ll need to cut that off.
Unfortunately, you can’t fold it inside the box to secure it, so make sure you’ve secured the wrapping paper at the edges. Use a sharp craft knife to slice the excess off, creating that clean edge.

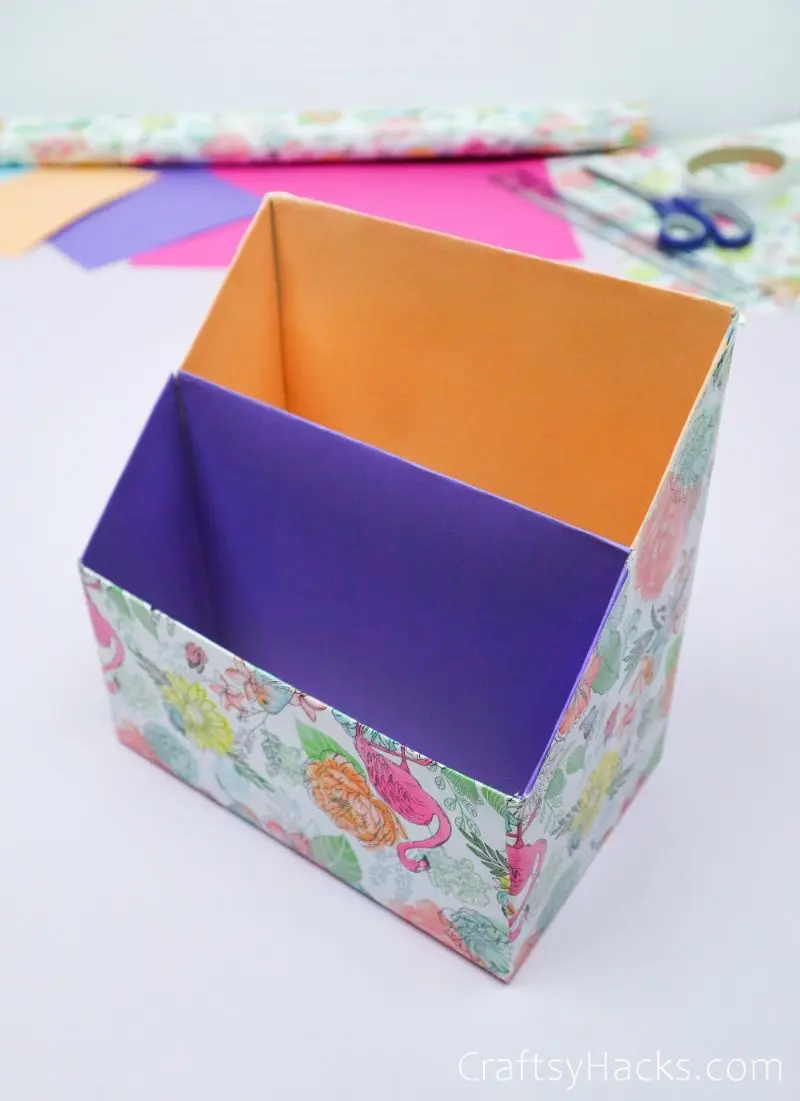
Step 8
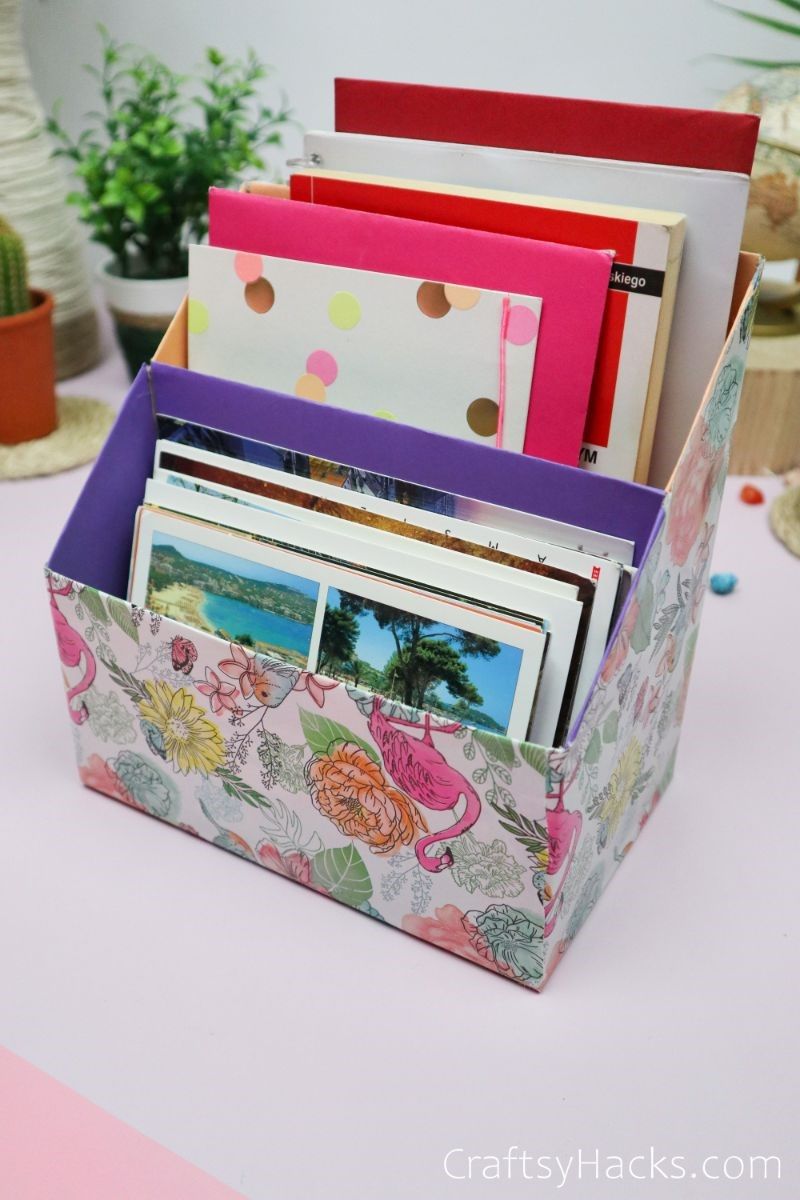
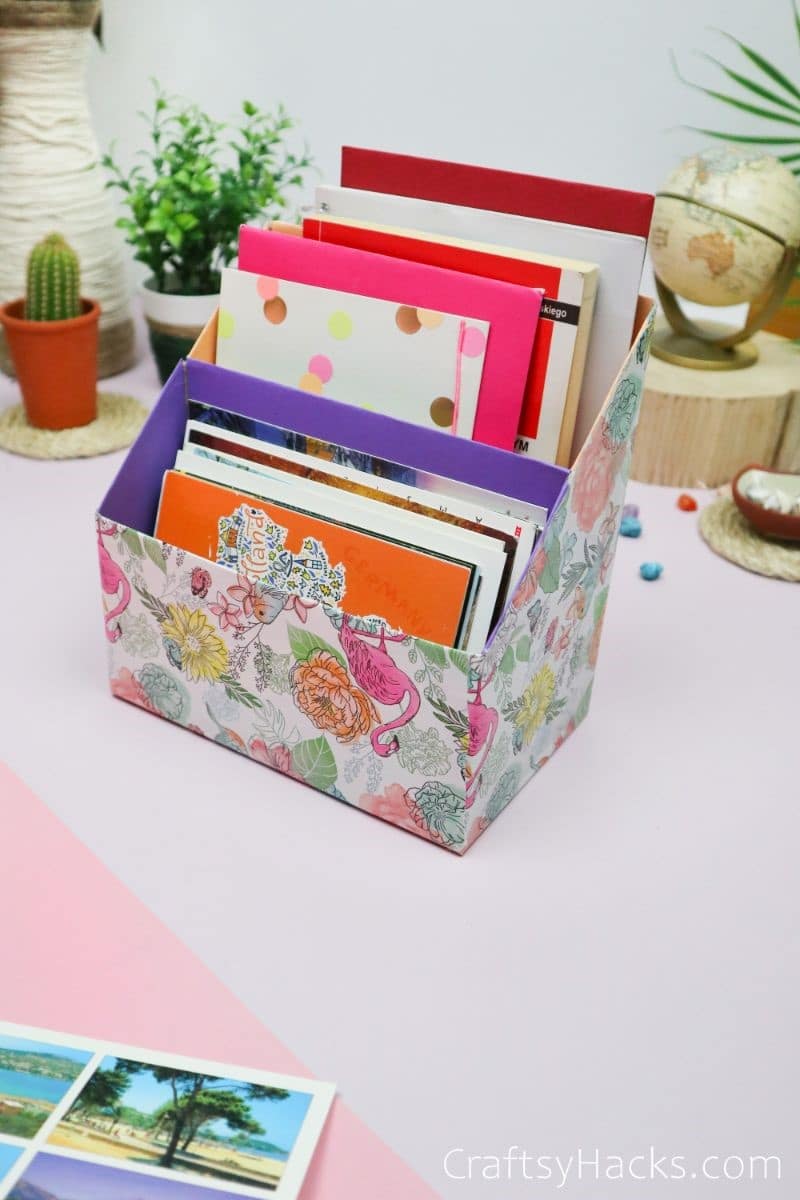
Once you’re done, you’ll have a gorgeous organizer ready to be filled with various bits and bobs! I’m in love with how easy and cheap this is to make.
Throw it together in an afternoon and get rid of the mess that’s been plaguing your desk!
What Can You Store in This Cereal Box Organizer?


The sky is the limit with the cereal box organizer! Store everything from your mail to your precious memories in this dynamic desk accessory, including:
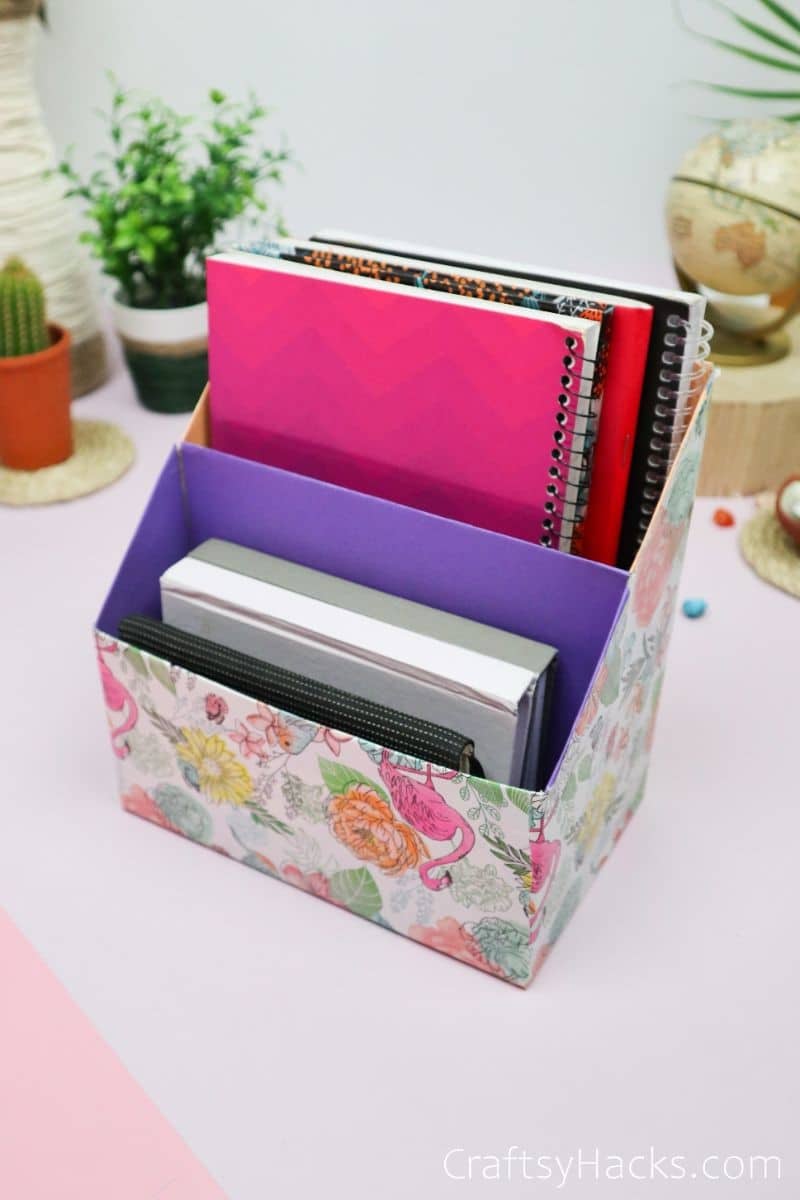
- Personal stationery. Need to write a thank you letter? Now your stationery is right there and waiting for you.
- Notebooks. If you’re anything like me, you have a million errant notebooks floating around your house. Now, you have a place to put them all!
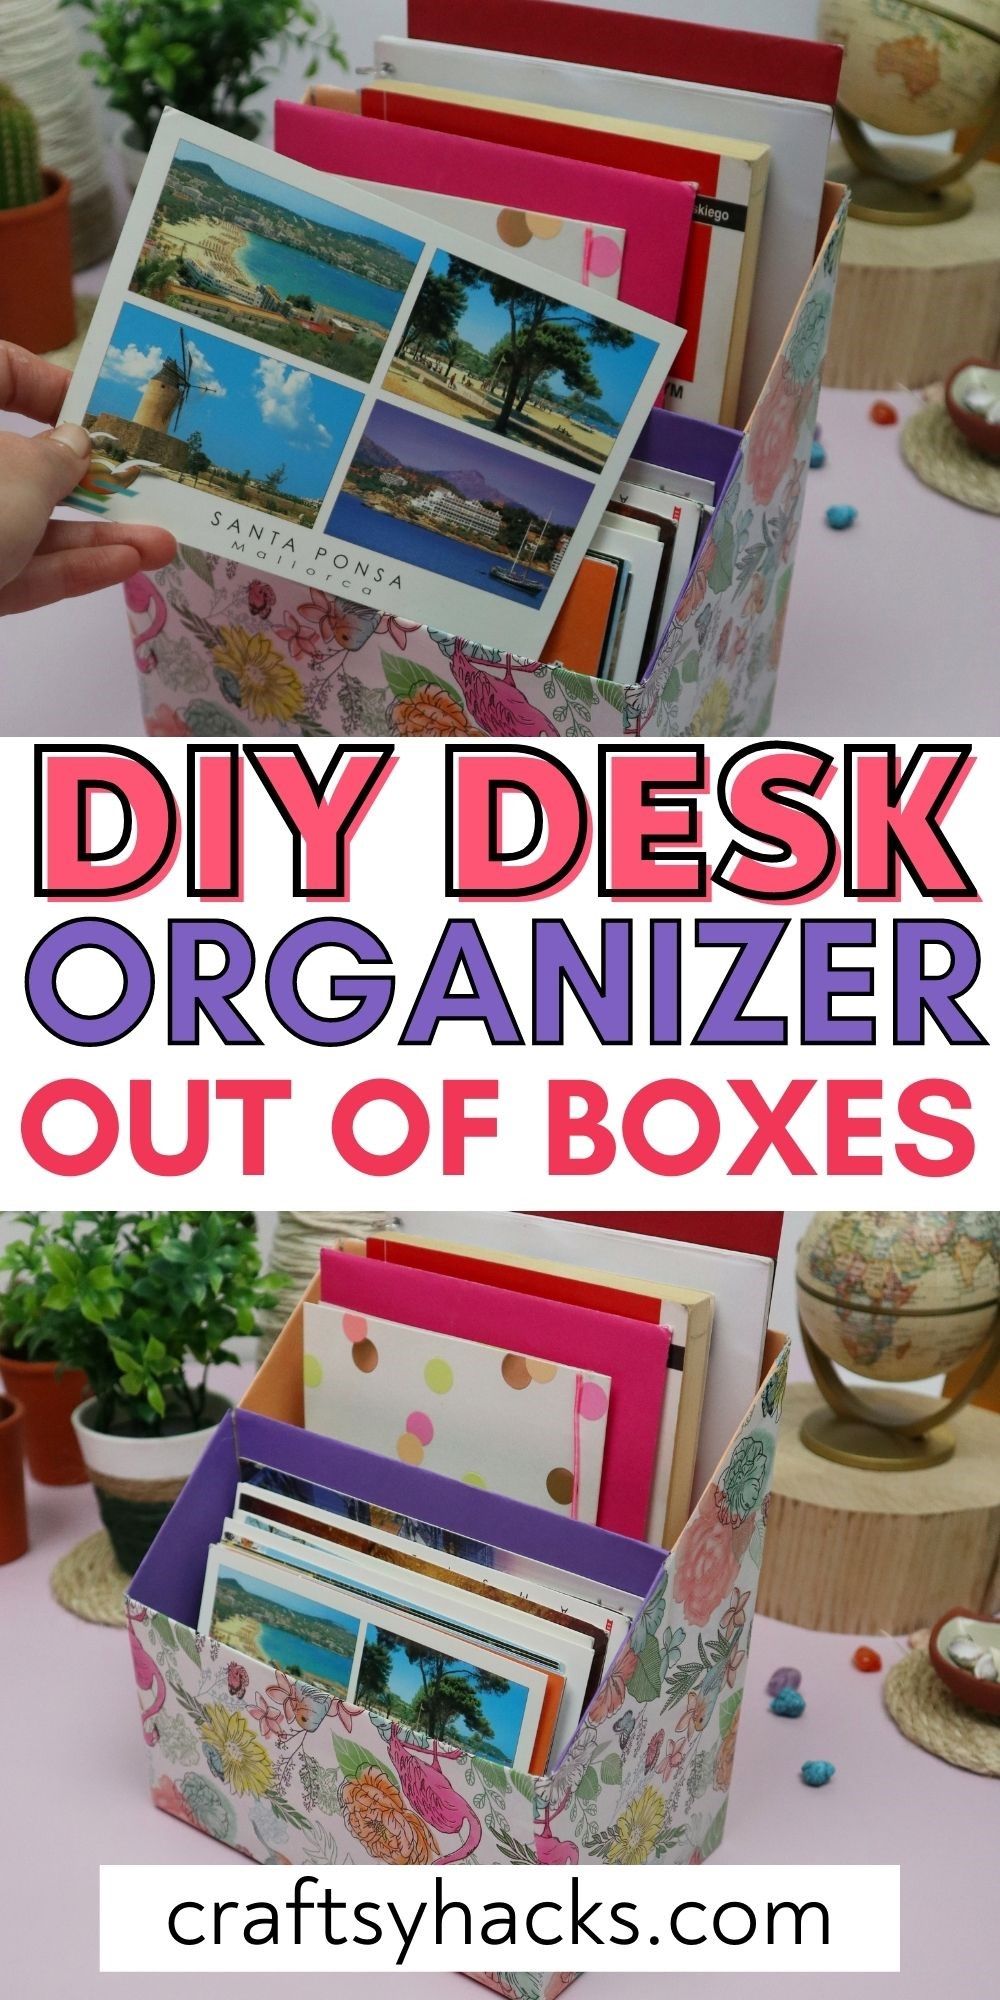

- Memories. From photos to holiday cards, this is the place to keep every little thing that makes you smile.
- Bills and mail. Never forget a bill ever again with this bright and vibrant organizer sitting on your desk.

You Might Also Like
- 21 Dollar Tree Storage Ideas
- DIY Drawer Dividers Out of Cardboard
- DIY Rope Basket Out of Cardboard Box
- 15 Creative Ways to Organize Small Items
- 40 Small Bedroom Organizing Ideas
- DIY Desk Magazine Organizer Out of a Cereal Box
- 47 Organizing Ideas
- Craft Room Organization
- Office Organization
Who Can Make This Organizer?

Good organization is for everybody. Anyone can make this organizer, so it’s a great family activity (especially if you’re teaching your little ones about cleanliness).
If you’re making this with a younger person, keep in mind that some of the tools in your arsenal are sharp. So, make sure you’re taking on the cutting parts, and leave the wrapping to young hands.

DIY Desk Organizer Out of Cereal Boxes


Combine form and function in this stunning cereal box organizer and spend barely any money or time while doing it. It's a practical recycled organizer anyone can make and use to declutter their office space.
Materials
- Materials:
- 2x cereal boxes
- Colorful paper
- Wrapping paper
Tools
- Double sided tape
- Glue
- Scissors
- Retractable knife
- Ruler
- Pen
Instructions
- Gather your supplies, sit down in front of Netflix, and get ready to craft!
- Start off by measuring the back and front of each cereal box. You want to create a small box and a large box, and the sides should form a smooth diagonal line.
- Ensure the back of your small box is the same height as the front of your large box. This is what will give you that smooth, diagonal line.
- Now, it’s time to line the interior. Cut panels of colored cardstock and adhere them to the inside of your boxes. I recommend choosing contrasting colors for some extra interest!
- If you’re using glue for any of this, be careful not to soak the paper, as this will make it sag. If you’re using tape, line both the edges and the interior for a clean line.
- Next up, wrap your boxes with your chosen wrapping paper. Treat it like a present, folding the excess under the bottom of the box.
- To get those smooth lines, grab your craft knife or scissors and trim the excess off the top of the box.
- And you’re done! Fit this on any flat surface and watch the clutter disappear into this bright, vibrant space provided by your new organizer.